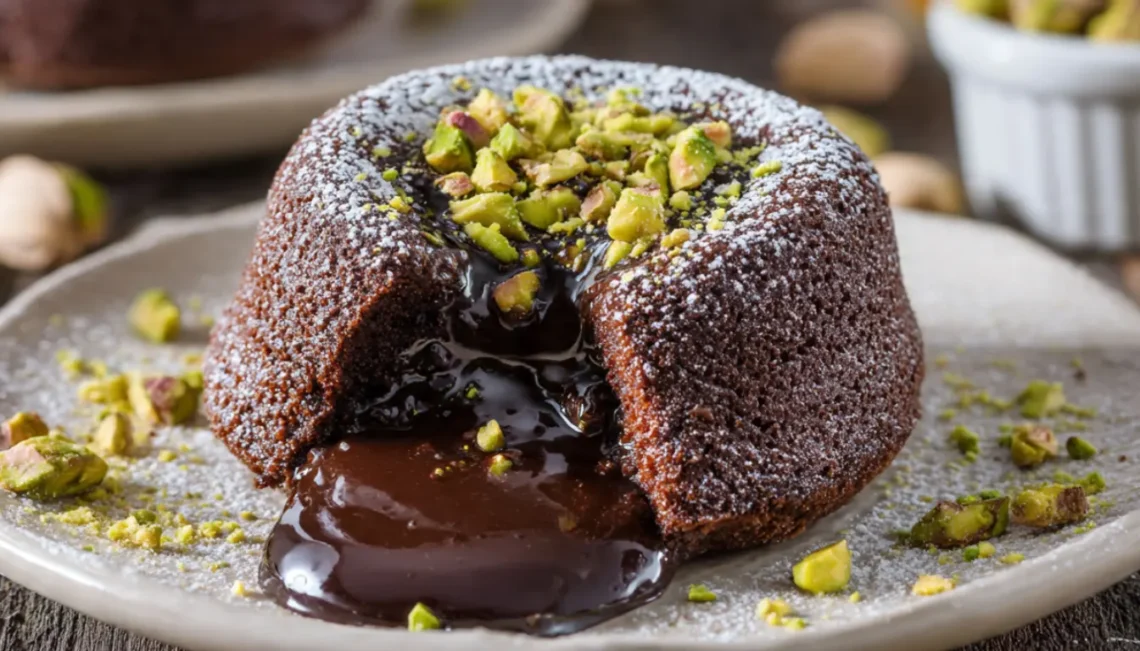
You know that moment when you crack into a dessert and molten chocolate oozes out like liquid gold? I’ve been perfecting my lava cake technique for years, and honestly, adding pistachios to the mix was one of those happy accidents that turned into my most-requested dessert. The nutty, slightly savory notes from pistachios cut through the richness of dark chocolate in a way that makes every bite feel special without being overwhelming.
I’ll never forget the first time I made these. I was testing recipes in my kitchen using my KitchenAid stand mixer, and I had a bag of roasted pistachios sitting on the counter. On a whim, I ground some into the batter, and the result was so good that I immediately made another batch to be sure it wasn’t a fluke. It wasn’t.
Essential Ingredients
Here’s what you’ll need to make these show-stopping desserts:
- 6 oz dark chocolate (60-70% cacao works best)
- 1/2 cup unsalted butter (plus extra for greasing)
- 1/2 cup shelled pistachios (roasted and unsalted)
- 3 large eggs (room temperature)
- 3 large egg yolks (room temperature)
- 1/4 cup granulated sugar
- 2 tablespoons all-purpose flour
- 1/4 teaspoon salt
- 1 teaspoon vanilla extract
- Powdered sugar (for dusting)
- Cocoa powder (for greasing ramekins)

Alternative Ingredients
Look, I get it. Sometimes you don’t have the exact ingredients on hand, or you’re working with dietary restrictions. Here’s what I’ve successfully substituted over the years.
Instead of dark chocolate, you can use semi-sweet chocolate chips, though the flavor won’t be quite as sophisticated. If you’re avoiding dairy, coconut oil works in place of butter, but you’ll lose some of that creamy richness. For the pistachios, almonds or hazelnuts can step in, though they’ll change the flavor profile completely.
I’ve made gluten-free versions using almond flour instead of all-purpose flour. You’ll need about 3 tablespoons instead of 2, and honestly? They turn out just as good. The texture is slightly denser, but the molten center still delivers that wow factor.
If you can’t find shelled pistachios, buy them in shells and do the work yourself. It takes about 10 minutes and saves you money. I usually do this while watching TV, so it doesn’t feel like a chore.
Step-by-Step Directions
1. Prep your ramekins properly. This is crucial, and I learned this the hard way after my first lava cake stuck like glue to the ramekin. Butter six 6-ounce ramekins generously, then dust them with cocoa powder instead of flour. Tap out the excess. This creates a non-stick coating and adds a subtle chocolate flavor to the edges.
2. Melt the chocolate and butter. I use a double boiler for this, but if you’re careful, a microwave works too. Chop the chocolate and butter into small pieces, place them in a heat-safe bowl, and set it over simmering water. Stir occasionally until everything melts together smoothly. This takes about 5 minutes. Let it cool for 10 minutes while you prep everything else.
3. Grind the pistachios. Use a food processor to pulse the pistachios until they’re finely ground but not turned into butter. You want a texture similar to almond meal. I pulse mine about 15 times in short bursts. If you don’t have a food processor, a good quality blender works, or you can even use a mortar and pestle if you’re feeling traditional.
4. Whisk the eggs and sugar. In a large bowl, combine the whole eggs, egg yolks, and sugar. Whisk vigorously for about 3 minutes until the mixture becomes pale and slightly thick. I use my stand mixer with the whisk attachment on medium speed, but a hand mixer or even a strong arm with a whisk will do the job.
5. Combine everything carefully. Pour the cooled chocolate mixture into the egg mixture and fold gently with a spatula. Add the ground pistachios, flour, salt, and vanilla. Fold until just combined. Don’t overmix here, or you’ll deflate all those air bubbles you worked to create.
6. Divide and chill. Pour the batter evenly into your prepared ramekins, filling them about three-quarters full. At this point, you can refrigerate them for up to 24 hours, which is perfect if you’re prepping for a dinner party. Just cover them with plastic wrap.
7. Bake at the right temperature. Preheat your oven to 425°F (this is important, don’t skip preheating). Place the ramekins on a baking sheet for easy handling, then bake for 12-14 minutes. The edges should look set, but the centers will still jiggle slightly when you gently shake the pan. This is exactly what you want.
8. The crucial resting period. Let them sit for exactly 1 minute after removing from the oven. Not longer, or they’ll overcook from residual heat. Run a thin knife around the edges, place a plate upside down on top of each ramekin, then flip quickly. Tap the bottom of the ramekin gently, and it should release.

Pro Tips
After making these hundreds of times, I’ve picked up some tricks that make all the difference. First, room temperature eggs are non-negotiable. They incorporate better and create a smoother batter. I take mine out of the fridge about an hour before baking.
The baking time is the trickiest part. Every oven runs differently. My current oven runs hot, so I bake mine for exactly 12 minutes. My old apartment oven ran cool, and I needed the full 14 minutes. Do a test run before serving these to guests. Better to nail it when it’s just you eating “practice cakes” than to serve undercooked or overcooked lava cakes to company.
For meal prep enthusiasts, these are surprisingly freezer-friendly. Fill the ramekins with batter, cover tightly, and freeze for up to 1 month. Bake straight from frozen, adding 2-3 extra minutes to the baking time. This is how I prep for holiday dinners without the last-minute stress.
Invest in good quality ramekins if you make these often. I use ceramic ones that distribute heat evenly. I’ve tried those disposable aluminum ones, and they just don’t give the same results. The heat distribution is uneven, and you end up with overcooked edges and undercooked centers.
FAQs
Can I make these in advance? Absolutely. Fill the ramekins up to 24 hours ahead and refrigerate them covered. They might need an extra minute in the oven when baking straight from the fridge.
What if I don’t have ramekins? You can use a standard muffin tin greased well with butter and cocoa powder. The baking time will be slightly less, around 10-11 minutes. Keep a close eye on them.
Why did my lava cakes not have a molten center? You overbaked them. These need to come out when they still look slightly underdone in the center. The residual heat continues cooking them after you remove them from the oven.
Can I use milk chocolate instead of dark? You can, but I don’t recommend it. Milk chocolate makes these overly sweet and loses that sophisticated balance. If you must, reduce the sugar to 2 tablespoons.
How do I know when they’re done? The edges should be firm and pulling away slightly from the ramekin, but the center should jiggle when you gently shake the pan. That jiggle is your molten center waiting to happen.
Recipe Info
| Prep Time | Cook Time | Total Time | Servings | Yield |
|---|---|---|---|---|
| 20 minutes | 13 minutes | 33 minutes | 6 | 6 individual cakes |
Why You’ll Love This Recipe
These pistachio chocolate lava cakes hit that sweet spot between impressive and actually doable. They look like something from a fancy restaurant, but the technique is surprisingly straightforward once you’ve made them once or twice.
The combination of chocolate and pistachio feels luxurious without being pretentious. You’re getting that classic molten chocolate experience with an unexpected nutty depth that makes people ask, “Wait, what’s in these?” I love serving desserts that spark conversation, and these definitely do.
They’re also perfectly portioned. When you’re serving individual desserts, there’s no awkward “is this slice too big?” moment. Everyone gets their own little chocolate volcano, and that feels special. Plus, using quality chocolate and fresh pistachios means you’re treating yourself to real ingredients, not artificial flavors or processed stuff.
For anyone who loves to meal prep or plan ahead, these are a dream. Make the batter, portion it out, refrigerate or freeze, and bake when you’re ready. I’ve pulled these out of the freezer for unexpected guests more times than I can count, and they always impress.
What Makes This Recipe Unique
Most lava cake recipes stick to pure chocolate, which is delicious but honestly, a bit one-note after the first few bites. The pistachios completely change the game. They add texture to the outer cake, complexity to the flavor, and that gorgeous green fleck that makes these look special.
I’ve tested this recipe with a cast iron skillet for a family-style version, and while it works, you lose the individual presentation that makes lava cakes so fun. Stick with the ramekins for the best experience.
The technique here is also slightly different from traditional lava cake recipes. By grinding the pistachios finely and incorporating them into the batter instead of just sprinkling them on top, you get pistachio flavor in every single bite. It’s not just a garnish, it’s part of the cake’s identity.
Using a combination of whole eggs and extra yolks creates that perfect texture where the edges set up beautifully but the center stays luxuriously gooey. Some recipes use only yolks, which I find too rich, or only whole eggs, which don’t give you enough of that custardy center.
Key Features
Molten center perfection: When you break into these with a spoon, you get that satisfying flow of warm chocolate that makes lava cakes legendary. The timing and temperature are calibrated to give you this every single time.
Sophisticated flavor profile: The earthy, slightly sweet pistachios balance the intense chocolate beautifully. It’s not overwhelmingly rich, thanks to that nutty counterpoint.
Make-ahead friendly: Whether you’re refrigerating for tomorrow’s dinner or freezing for next month, these hold up beautifully. Perfect for stress-free entertaining.
Scalable recipe: Six servings is my standard, but this recipe doubles easily if you’re feeding a crowd. Just make sure you have enough ramekins and oven space.
Gluten-free adaptable: Swap the flour for almond flour, and you’ve got a dessert that works for gluten-free guests without compromising on taste or texture.
Nutrition Facts
| Nutrient | Per Serving |
|---|---|
| Calories | 385 |
| Total Fat | 28g |
| Saturated Fat | 15g |
| Cholesterol | 215mg |
| Sodium | 135mg |
| Total Carbohydrates | 28g |
| Dietary Fiber | 3g |
| Sugars | 20g |
| Protein | 8g |
You’ll Also Love
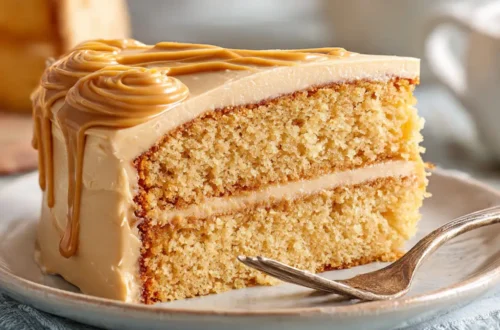
If these pistachio chocolate lava cakes won your heart, you’ll definitely want to try my Molten Salted Caramel Cakes. They use a similar technique but with a dulce de leche center that’s absolutely incredible. The Dark Chocolate Raspberry Lava Cakes are another variation I make often, using freeze-dried raspberries ground into powder.
For a different take on pistachios and chocolate, my Pistachio Chocolate Chip Cookies are a weeknight-friendly option that delivers similar flavors without the precision timing. And if you’re into elegant individual desserts, the Mini Chocolate Soufflés use many of the same ingredients but have a lighter, airier texture.
Don’t sleep on my Chocolate Pistachio Bark either. It’s what I make when I want these flavors but don’t have time for the full lava cake production. Just melted chocolate, chopped pistachios, and a sprinkle of sea salt. So simple, so good.
Conclusion
After a decade of making desserts, these pistachio chocolate lava cakes remain one of my absolute favorites. They’re that rare combination of impressive presentation and reliable technique. Once you nail the timing in your specific oven, you can make these with your eyes closed.
The pistachio twist elevates them beyond the standard chocolate lava cake you’ll find everywhere else. It’s familiar enough that everyone knows what they’re getting into, but different enough to feel special and thoughtful. I’ve served these at casual Friday dinners and fancy holiday meals, and they work beautifully in both settings.
Start with good chocolate and fresh pistachios. Use proper ramekins if you have them. Don’t overbake. Follow those three rules, and you’ll be pulling perfect molten-center cakes out of your oven that’ll make people think you went to pastry school. Trust me on this one.